Simple Summer Gardens For Non-Gardeners
-
Written by Gena Gillespe
It's been said that April showers bring May flowers, but what if you're one of the many people who lacks a green thumb? It can be difficult to fully embrace the beauty of a budding spring when you can't take part in garden life selfies, grow-it-yourself posts on Instagram, or humble-brags on Facebook about how out of control your tomatoes are. But what if we told you we found some basically fool proof plants to make you look and feel like a master gardener? So if you love the idea of a satisfying summer harvest but can't even keep a cactus alive, pay attention because this round-up is for you.
We polled our greenhouse gurus and yard whisperers to get the lowdown on the best edible plants for even the most basic botanists can handle. So get your spades (the little shovels) and your knee pads, because you're about to grow your own summer garden.
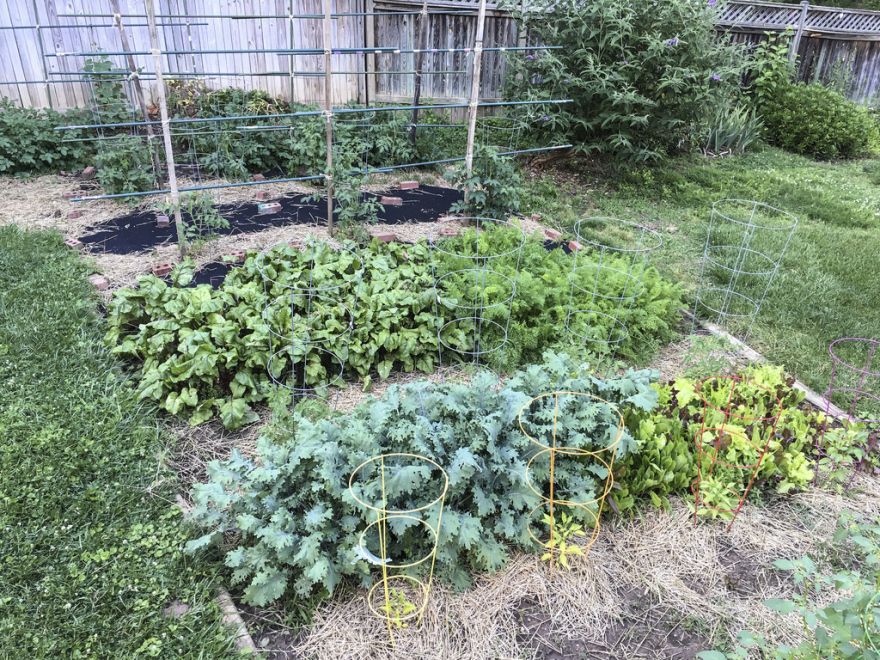
1. Squash
You know why people eat squash blossoms? Because they're delicious, but also because if you don't pick the blossoms off the plants, you will have an impossible amount of squash. If you've got 4-6 hours a day of sun, fertile soil, and water, you have a squash crop. The key is picking what kind you'll use. Butternuts can be tricky because they ripen at an odd pace, and too long on the vine means no flavor. Spaghetti squash, Summer squash, and Lemon squash are ideal due to their easiness and versatility. Plant starts in a sunny patch with nutrient rich soil and avoid watering the foliage. Give them something to climb, like a netted fence or trellis, and spray the leaves weekly with insecticidal soap to prevent insect infestation. When they start to blossom, pick the first few rounds off, stuff them with goat cheese and black pepper, dip them in batter, and fry them up. Trust us, it's divine. Let the next round of flowers come in. You might want to put a potted lavender near them to attract pollinators, but the bees and butterflies are pretty good about doing their jobs. Once the fruit starts coming in, elevate it off the soil with a little piece of wood or brick to prevent it from rotting.
2. Strawberries
Do you have a patch of dirt or concrete in direct sunlight? Do you have dirt and water? Then guess what, you can have a beautiful strawberry crop. These hearty beauties are prolific growers, and so easy! Many varieties of strawberries eagerly produce offspring, so it is best to space them 18 inches apart. Make sure you plant them in fertile soil, slightly on the acidic side (you can add some coffee grounds and crushed up eggshells to ammend the soil), with the crown of the plant at dirt level--don't bury the leaves. As it settles, the plants will send off runners to explore the surronding dirt, but you can cut those off. It will free up energy for your plant to do its real job, which is to give you some bomb-ass fruit. One pest to keep an eye out for is birds. Once your fruit starts to ripen, cover them with a light bird net to prevent critters from stealing your haul. If you've potted your berries and are keeping them on a patio garden, you won't have as many issues with this, but it's better to be safe than sorry.
3. Cherry tomatoes
Don't be intimidated by tomatoes! Yes, they CAN be complicated to grow, but a few cherry plants are easy-peasy. While they prefer to be in dirt, you can get great results from potting, as long as you use nutrient-rich soil and a VERY deep pot. Like at least three feet. Like all tomatoes, cherry tomatoes prefer slightly acidic soil and need a lot of sun. Get a little start and cage it immediately--trust me, you don't want to wrestle a larger tomato plant into a cage, and they really help with stability and cleanliness. Add a high-quality tomato food to the soil, water daily at the root not on the leaves, and spray with the aforementioned insecticidal soap to keep nasties away. In about two months, you'll have a gorgeous, tasty crop for topping salads, throwing on the grill, or simply snacking on off the vine.
4. Radishes
All you need is a partially shaded patch of dirt, some seeds or starts, and a bit of compost. Twenty-eight days later, you'll have yourself a crunch crop of radishes! Do be cautious to pull them at peak ripeness, otherwise, they will rot just as quickly as they grew. When mature, pull the roots whether you need the radishes immediately or not, and cut off the leaves. Put the radishes in plastic storage bags in the vegetable crisper of the refrigerator.