The Best Tech for Teaching in our New, Hybrid World
Use a Dedicated Webcam or Better Yet A ‘Real’ Camera
I’m surprised how many teachers are content with using whatever front-facing camera happens to be part of their laptop. Sure, it’s convenient, but often they have a restricted field of view, low-resolution, and worse companion audio than a dedicated device. At the height of the pandemic good webcams were hard to find, but now there is plenty of supply. My everyday camera recommendation is a Logitech HD C920 Pro, as it has held up really well since I purchased it seven years ago. It’s a wide-angle 1080p camera with stereo microphones. But my new favorite is the updated, albeit more expensive, Logitech C922. It features updated technology and is only about $15 more. If you don’t like your background, adding a green screen backdrop will help make a virtual background look better.
For me one major advantage of a standalone webcam is that it is much easier to position so that hand gestures, or objects you’re holding up, are in the frame. Many built-in webcams force you to be stuck in “talking head” mode. Along with upgrading your webcam, you might also consider getting a standalone microphone like the Blue Yeti Nano for about $100. For even more flexibility, and ability to zoom and control focus and depth-of-field, you can even a regular camera as your webcam. For teaching last year I used my Nikon D850 on a small tripod between my two monitors. It made it easy to get a real background blur. Originally, I used it with the powerful utility Sparkocam, but since then Nikon (along with other camera vendors) have released their own free software that also works well. You will want to get an external power supply for your camera, as its battery probably won’t last more than an hour on a charge.
Capturing the Action: Meeting Owl Pro
A webcam is great if you are just recording yourself giving a lecture, but if you have multiple instructors or want to capture an interactive session — especially with social-distancing — you may want to look at splurging on a Meeting Owl Pro, which sports a 360 degree camera, microphone, and speaker all in a compact cylindrical package.
While the Meeting Owl Pro is aimed primarily at meetings held around a single table, we’ve been using one to teach a small, hybrid class at Stanford. Both because some students are logged in over Zoom, and because we record the class for later reference, we need to have a good way to capture as much as possible. The $999 Meeting Owl Pro has proved useful compared to just using a webcam for a couple reasons. First, since there are several of us who collaborate while teaching, it “swivels” around to show who is speaking. Second, it can show an entire panorama of the room as part of the view shared on Zoom.
Our use of a Meeting Owl does come with a couple of caveats. First, it can be slow to recognize a new speaker, even within its stated 12-18 foot range. That may be in part because we are all required to wear masks this year. Second, it isn’t designed for the size classroom we’re in, so it doesn’t do a good job of picking up student questions. Of course, neither would a standard webcam. The simple solution is that we repeat questions before we answer them.
Video Capture Software Options
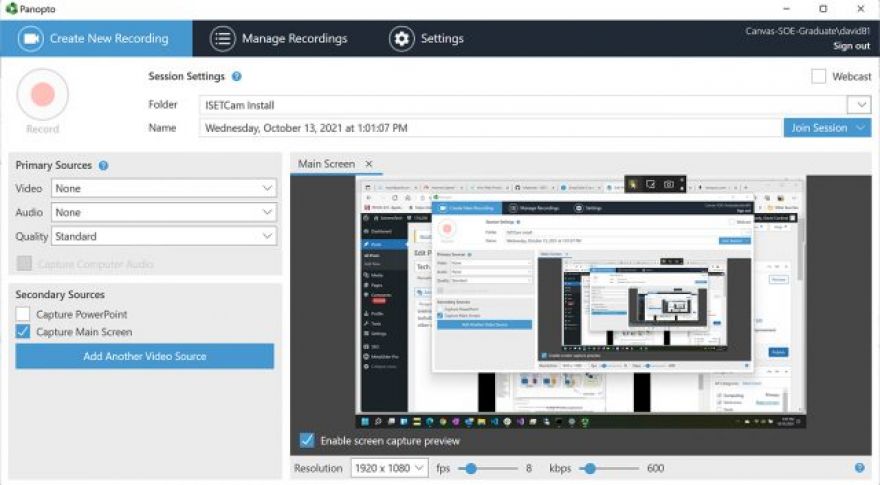
I use three different tools to create course videos. Zoom is used to make recordings of class sessions, as it integrates very well with the Meeting Owl Pro, Panopto, and SnagIt. Panopto is a very versatile system for recording a mixture of slides, “talking heads” and screen-sharing. It also creates bookmarks and can generate a searchable-transcript of your recording. For simple editing tasks the Panopto Editor is quick and easy to learn, although for more complex edits I fall back on Premiere Pro. At Stanford, Panopto is integrated into Canvas, which we use as our overall course framework — along with Confluence for course wiki pages. SnagIt allows me to easily share and annotate just a portion of my screen. In many cases when I’m recording a video illustrating a specific concept, I don’t want to show my entire screen, and I do want to be able to have a nice set of annotation tools at my disposal.
Beefing up Your Videos
Before video became a primary tool of instruction for many classes, a typical video was a simple stream with some screen-sharing uploaded to YouTube or a school site. Fortunately, the tools have finally started to get a lot better. As a baseline, we use the Panopto content-creation and sharing platform. With a little tweaking to its default settings you can offer students a selection of views — including seeing your slides, your image, and a transcription all at once. Clicking on a position in any of them automatically scrolls the other windows.
Panopto video showing some of its features, with Premiere Pro generated captions.
Adobe Premiere Pro lets you take Captioning to the Next Level
Transcriptions are very powerful, since they let students (and you) search lecture content by topic rather than having to listen to the sound track or wade through the slide deck. However, it’s not that easy to watch a video and use the transcript at the same time. In particular, for courses with participation from those for whom English isn’t their first language, a written representation of the content can be very helpful.
Premiere Pro’s new Captions Workspace automatically generates customizable caption that go along with the audio track of your video content.
Coincidentally, just in time for this school year, Adobe released a very slick captioning tool for Premiere Pro. It starts by using speech recognition to create a transcript. The quality of the transcript is surprisingly good, although I’m not sure that by itself it is that different from the tool in Panopto. Where the magic happens is that Premiere Pro will factor the transcript into caption-sized chunks, and assign them to specific sections of video. So you get the best of both worlds. A text version of your talk that doesn’t distract students from your visuals. The icing on the cake is that you have full control over the length, placement, and format of the captions, as well as the ability to edit them, of course.
Moving Outdoors
Teaching in a mask while in the classroom isn’t ideal, of course, but currently it’s the law where we are. So we’ve started to do more activities outside. That can be as simple as taking questions after class outside in the courtyard, or it can include doing some teaching. For teaching, you’ll probably want a good portable monitor. My current favorite is the GMK 4K Touchscreen USB-C model (). It is bright, and I can draw directly on it. For best results you’ll want to use it with an AC power supply. If you don’t have AC power, then a large power bank like a Jackery E500 makes a good substitute. GMK also makes a larger version of the monitor, but I haven’t tried it.
Now Read: